
Payoneer is a digital payment gateway that facilitates rapid and safe international payments. If you have a working Payoneer account, you can send and receive money to and from over 150 countries without experiencing any difficulties. You will discover comprehensive, step-by-step directions in this article on how to open a free Payoneer account from any location in the world.
Be it you’re from Nigeria, Brazil, UK, USA, Pakistan, India, Bangladesh or any of the over 150 country that supports Payoneer, this article is going to get you covered all the things that you need to know about how to create Payoneer account for free.
Table of Contents
What is Payoneer?
Payoneer is a New York based financial services company that provides fast online money transfers, and digital payments. Especially bloggers and freelancers use this platform to get paid internationally. Payoneer is the best PayPal alternative with fewer transfer fees and more security.
Furthermore, if you are using a Payoneer account, you’ll receive a free Mastercard. With this Payoneer Mastercard, you can easily withdraw cash from any ATM machine. Many renowned multinational companies including Google, Amazon, Airbnb, Fiverr and more choose Payoneer as their preferred payment method.
Requirements of Payoneer Account
Collect all the documents required for creating a Payoneer account such as:
- ID card (Take a picture of the front and back)
- Email Address
- Date of Birth (Same as ID card)
- Full Residential Address
- Phone number (for verification process)
- Bank account details (IBAN number of account)
How to Create Payoneer Account for Free
Here’s how to create Payoneer account for free:
Step #1: Go to the website and click on the get started

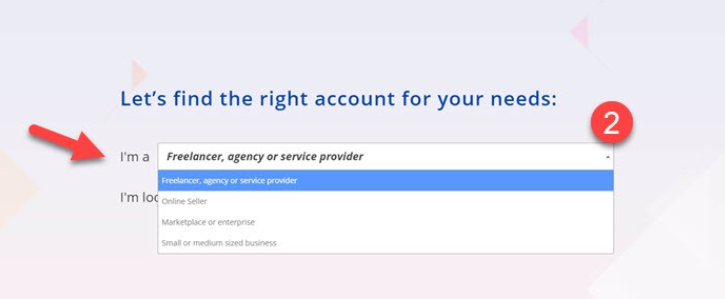
Step #2: If you’re a freelancer than click on the “Freelancer, Service Provider, or SMB”
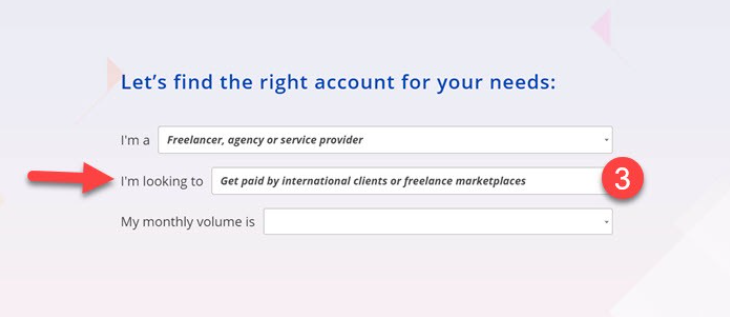
Step #3: Here click on “Get paid international clients or freelance marketplace”
Step #4: Then, pick you monthly volume
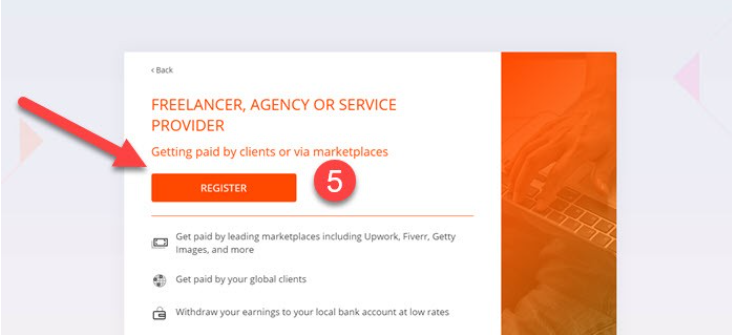
Step #5: Now click on the “Register” button. Actually, registration process will start now
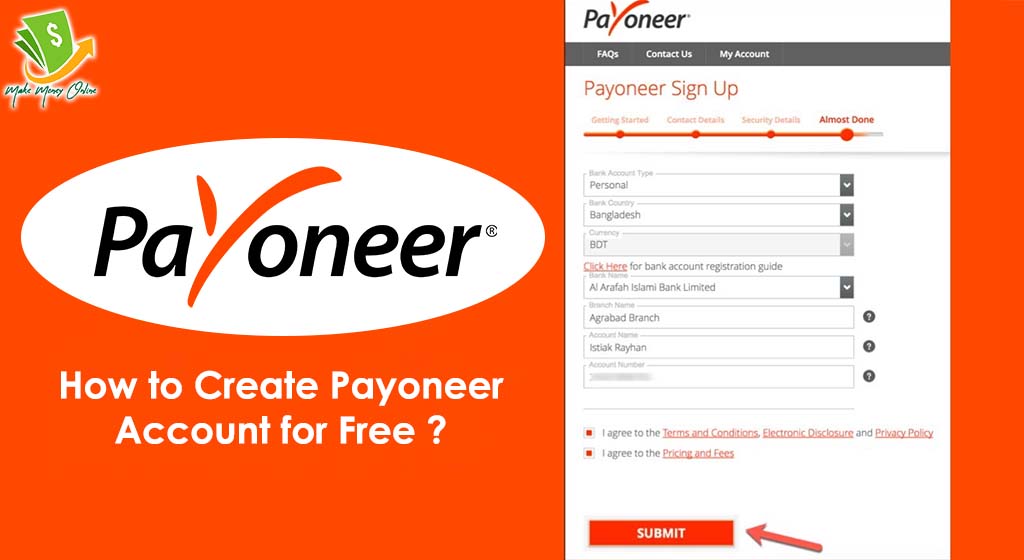
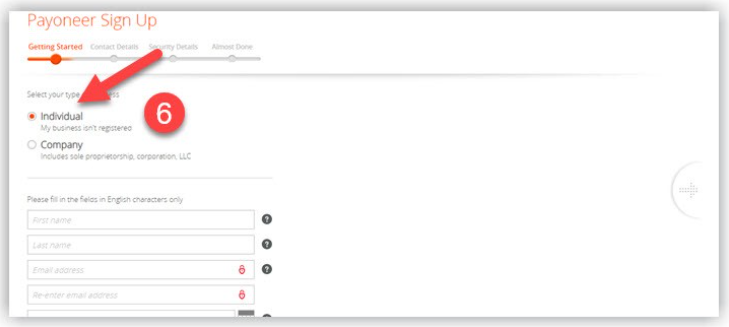
Step #6: Now select account type according to your need and enter your correct details in each field, the click next
Step #7: It’s time to enter your contact details (Country, Address, City, mobile number and postal code) then click on the button “send code”
Step #8: Enter the verification code in the field and click on next
On the next page, you need to fill some security details (password, choose a security question, Id card number, first and last name in local language, rewrite the captcha)
In this step, you need to give the bank account details to create the Payoneer account and use it to withdraw the money from Payoneer
Your account is under review, so open your Gmail account and see emails. One email is for verify email address and other one is to inform you that your application is under review
Now login your Payoneer account, go to the settings, then in verification center.
Click on the account verification and then click on the Government issued photo ID
Now upload the back and front side of your ID card
If you complete all the steps then it will take one business day. It usually takes 3 to 5 business days to approve. After that you can do your all international transactions easily.
If you want to watch the whole process, click on this video:
How to Link your Payoneer Account to Your PayPal Account?
The next step is to connect your Payoneer and PayPal accounts to begin the transactions. You need to follow the given steps to complete the linking process:
- Go to the PayPal website and login to your PayPal account
- Enter the credentials
- Later, click on the button “link a bank”
- If your desired bank is present in this list, then you need to enter your online banking details. And your account will be linked automatically.
- To get the account number and the routing number of the Payoneer account, you need to login your Payoneer account
- Then, activate the US payment service option
- Click on the “receive money” option
- After activating the US payment service option, you’ll receive a routing number a USA virtual account number
- Now enter this information into your PayPal account
- Next, you’ll receive two small deposit amounts into your Payoneer account by the PayPal account
- After receiving the amount sent by the PayPal, you can login again to your PayPal account
- After signing in, you’ve to put the same amount that you received on your Payoneer account into your PayPal account
- By doing this you can verify your PayPal account
Pros and Cons of Using Payoneer Account
Pros
- Fastest service to receive payments
- No fees for receiving international transactions
- Require no bank account for signup
- Provide mobile app service for easy transfers
- Support payments using an E-check
- Support 200 countries and 150 local currencies
- Send and withdrawal money directly with a debit card
- 24/7 customer support
Cons
- Lengthy signup process with lots of paperwork
- High Mastercard exchange rates for non-listed currency
- 2% to 2.75% currency conversion charge
- Requires $20,000 of the minimum monthly payment
- Higher exchange fees as compared to PayPal
Frequently Asked Question
Is the Payoneer Account free?
Yes, the Payoneer account is completely free. You can make all your transactions for free from Payoneer-to-Payoneer account. it only takes a small percentage when we send and receive payments.
How to approve your Payoneer account?
You can approve your Payoneer account by uploading the front and back of the ID card and also uploading the necessary required documents for verification.
Read More:
